
How to Apply Natural-Looking Lash Extensions Without Salon Help?
Full, soft lashes do not require a salon visit. With the right tools and a steady hand, anyone can create a natural lash look at home. This guide shows how to prep, place, and secure extensions so they blend with real lashes.
To apply natural-looking lash extensions without salon help, she must clean her lashes, use small lash clusters, place them close to the lash line with a light layer of glue, and press them in place so they blend with her natural lashes. This method keeps the style subtle and comfortable. It also helps protect real lashes from damage.
The sections ahead cover the tools she needs, how to prep her lashes, and the exact steps for neat placement. Clear tips also help her avoid common mistakes so her lashes look soft and natural, not heavy or fake.
Essential Tools and Preparation
The right tools and proper prep decide how natural lash extensions look and how long they last. Careful product choice and clean lashes create a smooth, safe application process.
Choosing the Right Lash Extensions
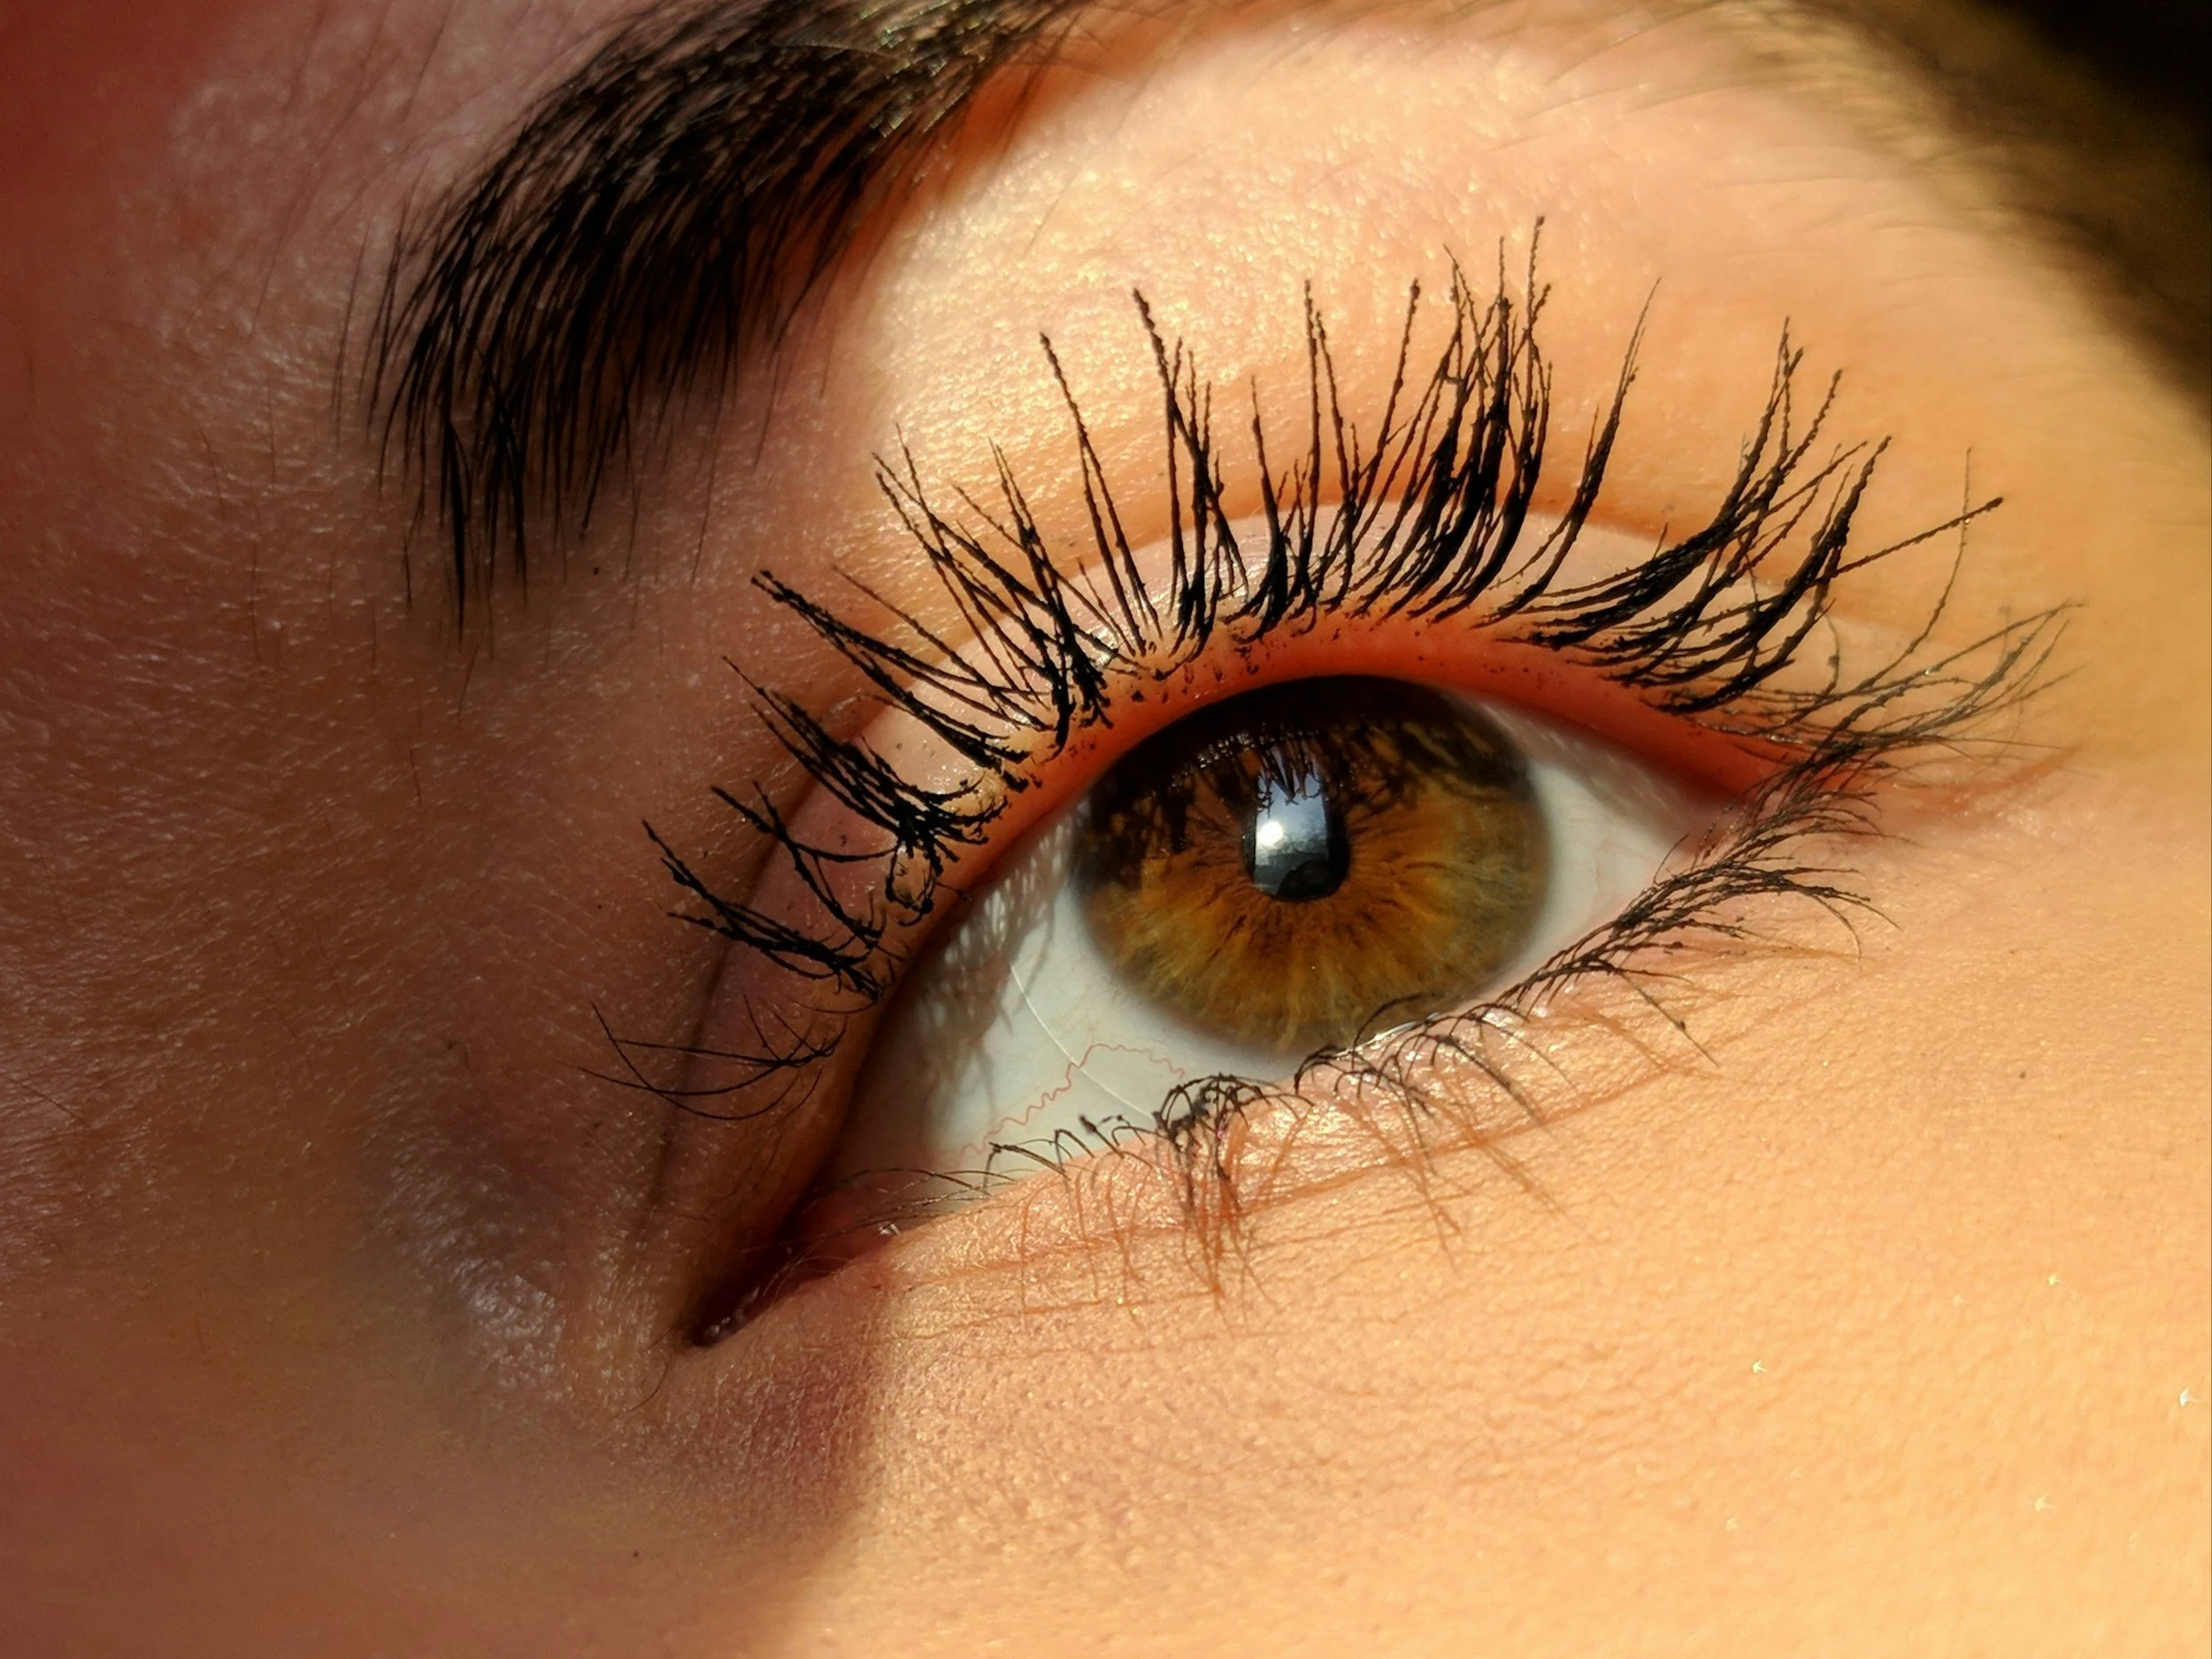
He or she should start with lashes that match the length and thickness of natural lashes. For a subtle look, choose lengths only 1 to 2 mm longer than the real lashes. Short to medium lengths, such as 8 mm to 12 mm, create a soft finish that does not look heavy.
Lightweight fibers with a thin, clear band blend better than thick strips. In addition, soft curls like C or soft D curls lift the eye without a dramatic effect. Cluster or individual lashes give more control than full strips.
Many people compare styles by browsing natural lashes online to see realistic shapes and spacing. This helps them pick a set that matches their eye shape and lash density instead of guessing.
Selecting High-Quality Adhesive
Adhesive holds the extensions in place, so quality matters. A lash bond made for at-home use gives more control than strong salon glue. It should dry at a moderate speed so the user can adjust placement before it sets.
Clear adhesive works best for natural styles because it does not leave a dark line. In addition, low-fume formulas reduce eye irritation. He or she should always check the label for safe use near the eyes.
A small amount of glue works better than a thick layer. Too much adhesive causes clumps and stiff lashes. Therefore, dip only the base of each extension and avoid contact with the skin.
Prepping Your Natural Lashes
Clean lashes hold extensions better than oily lashes. First, wash the eye area with a gentle, oil-free cleanser. Remove all makeup, especially mascara and eyeliner.
Next, dry the lashes fully. Any moisture weakens the bond and causes early lifting. A clean spoolie brush can separate lashes so each extension attaches to a single natural lash.
Avoid heavy creams or serums before application. As a result, the adhesive grips the lash surface instead of sliding off. Proper prep protects natural lashes and helps the extensions sit flat and look real.
Step-By-Step Application for Natural-Looking Results
A natural result depends on clean sectioning, careful placement, and smooth blending. Each step builds on the last, so steady hands and patience lead to soft, even lashes that match real growth patterns.
Sectioning and Isolating Lashes
Clear sectioning gives full control over placement. First, she should place under-eye pads or medical tape under the lower lashes to keep them out of the way. This step also protects the skin from glue.
Next, she divides the upper lashes into small zones. She can work from the outer corner to the inner corner, or the reverse, as long as she stays consistent. Many beginners start at the outer edge since those lashes tend to feel easier to reach.
She then uses fine tweezers to isolate one natural lash at a time. Only one lash should sit apart from the rest. If nearby lashes stick together, she must separate them before she adds an extension. Clean isolation prevents clumps and keeps the final look light and soft.
Applying Lash Extensions Safely
She should dip only the base of the extension into a small drop of lash adhesive. A tiny amount works best. Too much glue can cause stickiness and discomfort.
Next, she places the extension about 1 to 2 millimeters away from the eyelid. The extension should attach to the natural lash, not the skin. Direct skin contact may lead to redness or itching.
She must match the extension length to the natural lash. Short or medium lengths create a more realistic look. Long lashes on weak natural hairs may cause early fall out.
After placement, she holds the extension in place for a few seconds. This pause allows the adhesive to set. She then checks that the extension sits straight and follows the direction of the natural lash.
Blending Extensions with Natural Lashes
A soft blend depends on smart length choice and even spacing. She should avoid one single length across the entire eye. Instead, she can use shorter lashes near the inner corner, medium lengths in the center, and slightly longer pieces toward the outer edge.
Curl type also affects the final style. A gentle curl often looks more natural than a dramatic lift. If her natural lashes grow straight, a soft curl will match better.
She should step back every few minutes to check balance between both eyes. This habit helps her spot gaps or uneven areas early. If she finds a space, she can fill it with a thin cluster or a single lash rather than a thick piece.
Perfecting the Final Look
After she finishes placement, she should wait a few minutes before she brushes through the lashes. A clean spoolie helps separate any lashes that sit too close together.
She can lightly press the extensions and natural lashes together with clean tweezers. This step helps them bond as one unit and creates a seamless look.
Finally, she checks the lash line in good light. She looks for crossed lashes, excess glue, or uneven length. Small fixes at this stage make a big difference. The result should look soft, balanced, and close to her natural lash pattern rather than heavy or dramatic.
Conclusion
Natural-looking lash extensions at home require careful prep, light placement, and proper aftercare. She or he should focus on clean lashes, small clusters, and thin adhesive layers to keep the result soft and realistic.
They must also remove extensions with a safe remover and give natural lashes time to rest between sets. With patience and steady practice, anyone can achieve subtle, balanced lashes without salon help.
Related: