
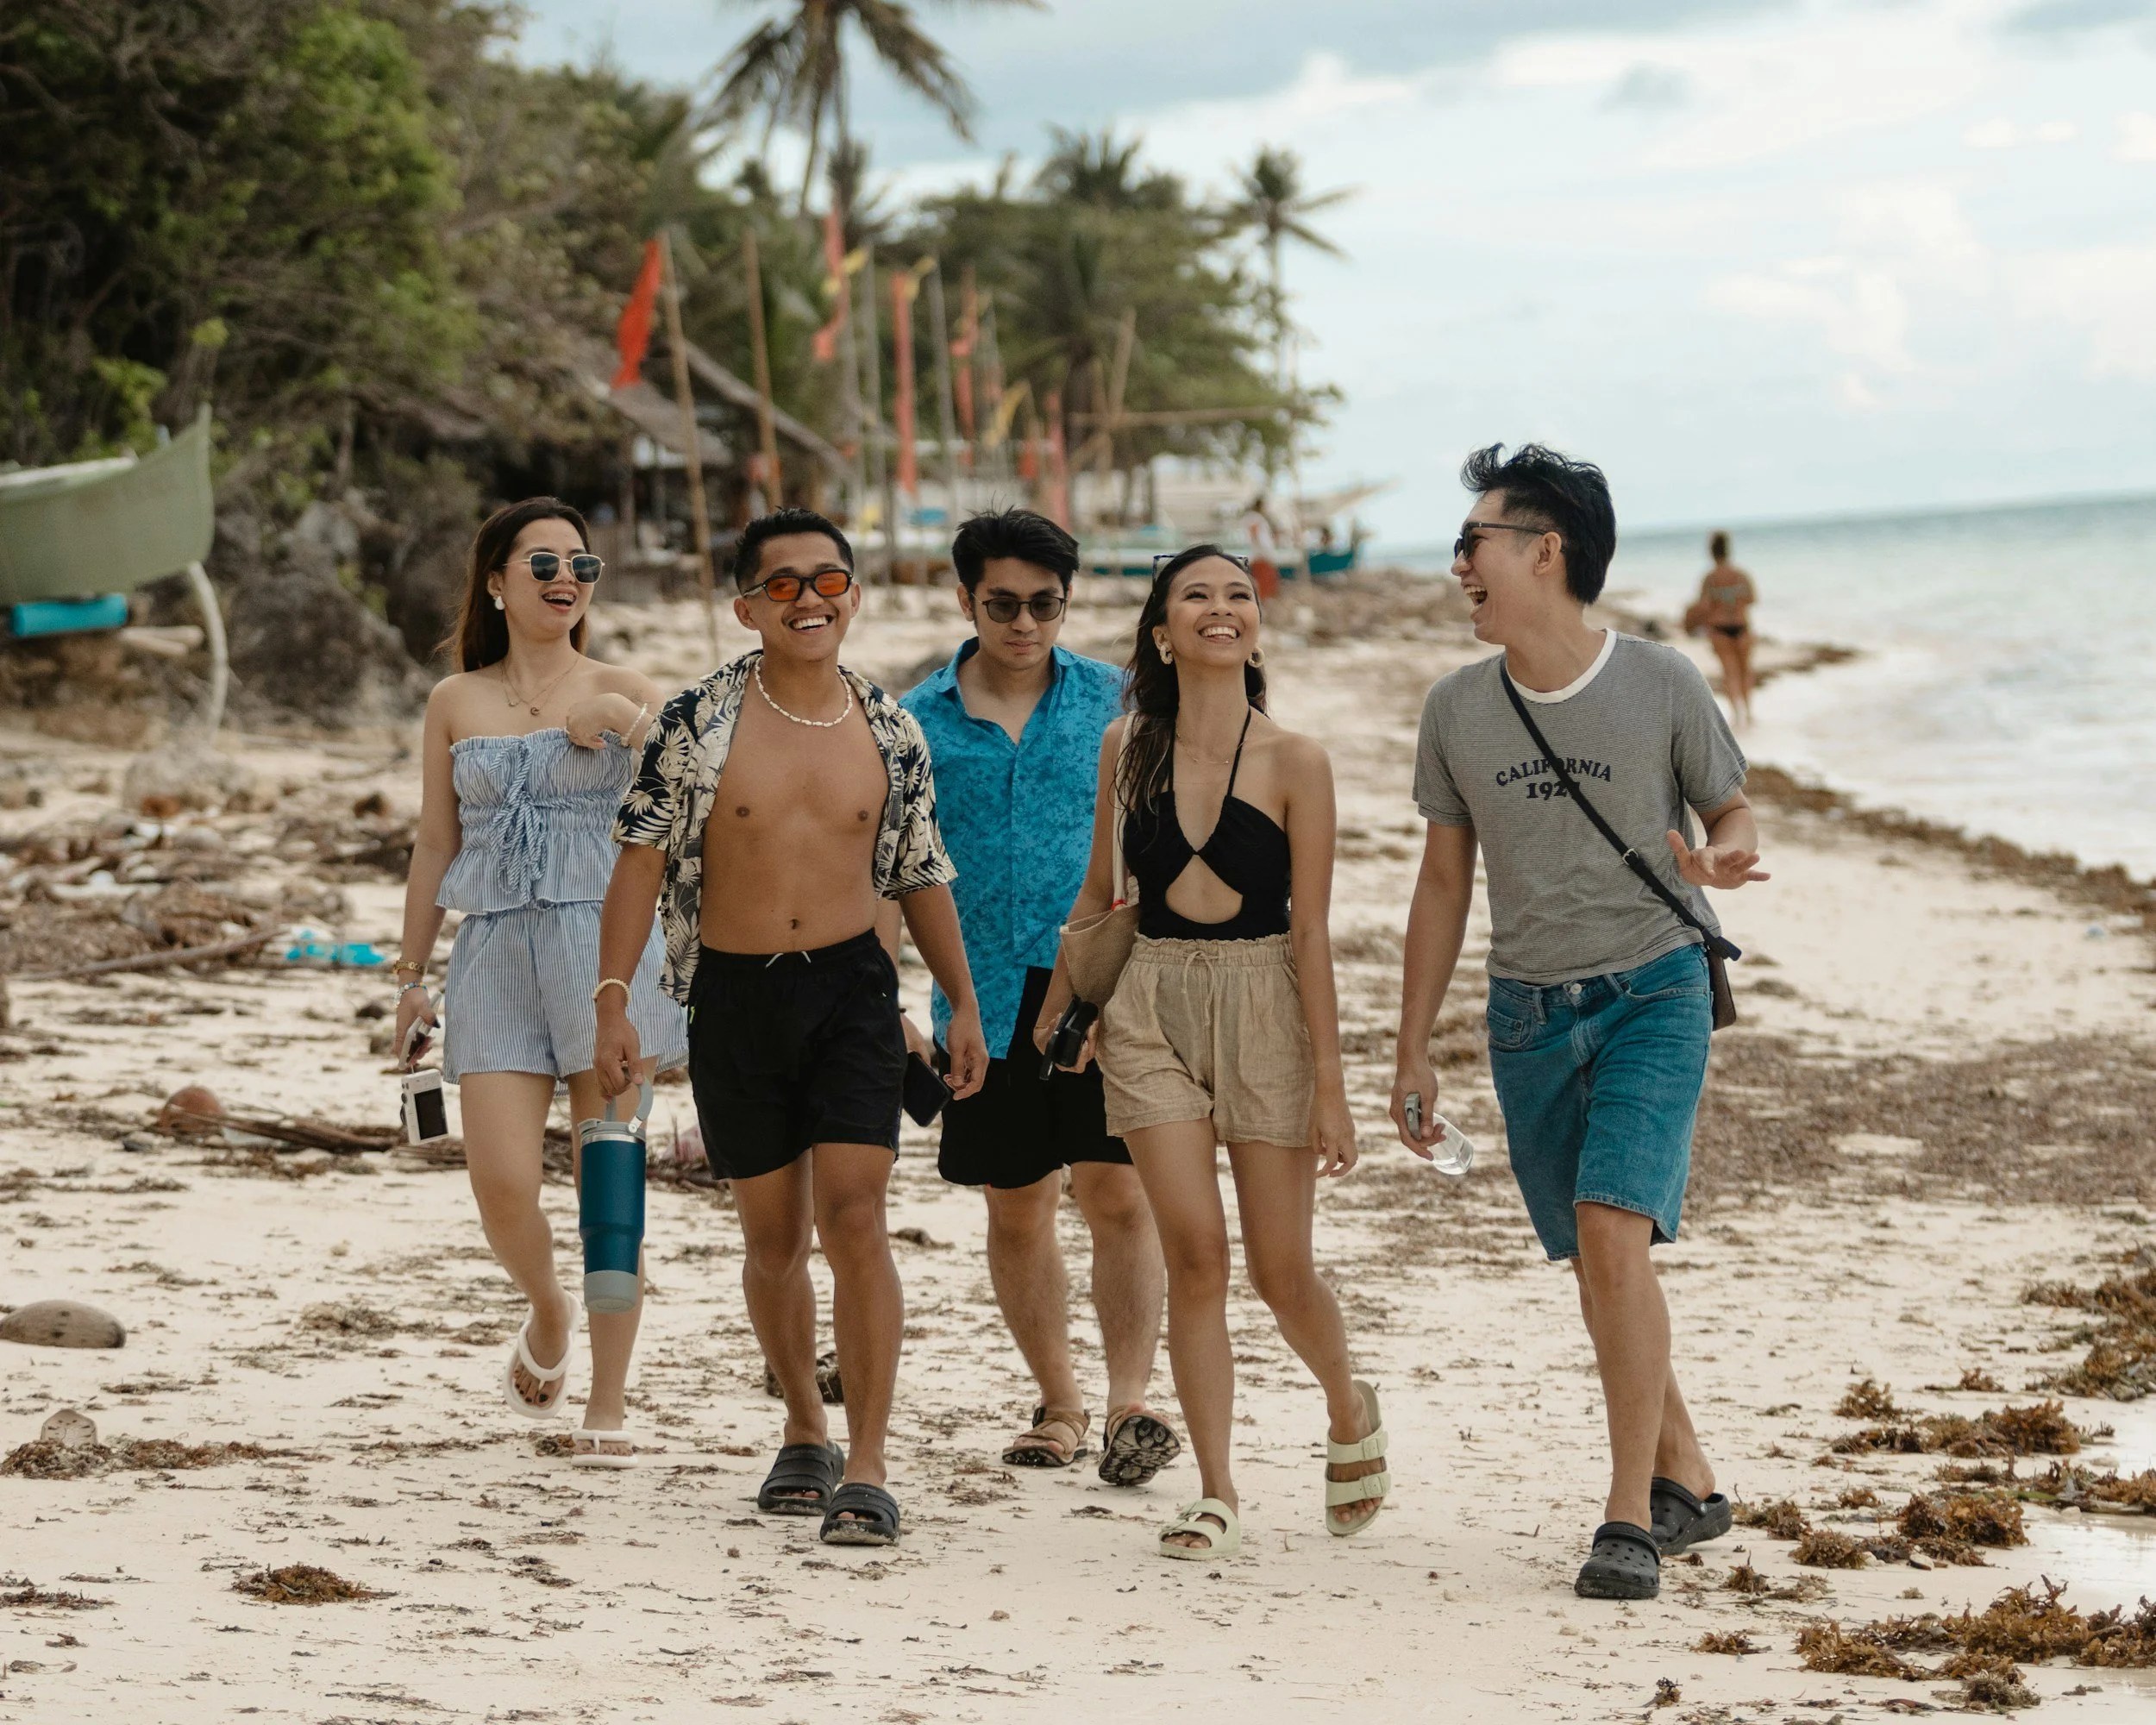
Taking the family to the Philippines is a big trip, and a great one. Warm water, easy island hopping, friendly people, and food kids will actually eat. It's also a long way from most places, which means long flights, time zone changes, and a lot of small details that can go wrong when you're managing a toddler's snack supply and a teenager's phone charger at the same time.
One of those details is a digital form that surprises plenty of first-time visitors. Before you fly, every traveler needs to complete the country's eTravel registration. Here's what it is, how it works, and the other prep worth doing so the trip starts calmly instead of at the check-in counter.
What eTravel Is
eTravel is the Philippines' online arrival registration. It replaced the earlier health declaration and paper arrival cards, and it collects your passport details, flight information, accommodation, and a short health declaration. When you finish, you get a QR code, which the airline may ask to see before boarding and which you present on arrival.
A few facts are worth knowing up front:
It's free. The Philippine government's official registration has no fee.
There's a time window. You can register only within 72 hours before your flight. You can't do it weeks ahead, and doing it too early isn't accepted.
It's not a visa. Many nationalities, including most U.S., UK, Canadian, Australian, and EU passport holders, can visit visa-free for up to 30 days, but eTravel is a separate requirement that applies on top of that.
Everyone needs one, including children. There's generally no age exemption, so a family of four means four registrations.
Step by Step: Completing the Registration
Here's how to complete Philippines eTravel registration for your family, and the options you have for doing it.
The official route. Go directly to the government portal at etravel.gov.ph, or use the official eGovPH app. Create an account, choose arrival, and fill in each section: personal details, passport information, travel details, accommodation in the Philippines, and the health declaration. Submit it, then save the QR code. It takes about ten minutes per person, a bit longer with kids, since you'll be hunting for passport numbers and dates.
The assisted route. Some independent companies will complete the registration for you. VisaSyst is one example. Its page describes it as a paid private assistance service, not a government site. It reviews your information for errors before processing, handles the timing of the official submission so you don't have to remember the 72-hour window, offers an optional one-hour priority service for last-minute cases, and emails you the finished QR code. Its fee starts at around $79, which is separate from the registration itself, which is free. If you're considering it for a family, check whether the fee applies per traveler.
Which option is better comes down to how you work. If you're comfortable with forms and can set a reminder three days before the flight, the official portal costs nothing and takes minutes. If you're juggling work, school pickups, and packing and would rather hand off the chore, a paid service can reduce the chance of missing the window. Both are legitimate choices. Just make the decision knowing the registration itself is free.
Watch for Look-Alike Sites
Because eTravel is mandatory and time-sensitive, it attracts imitators. The Philippine Bureau of Immigration has warned travelers about fake eTravel websites that charge fees and collect personal data. The official portal never asks for a card payment.
A few quick checks protect your family:
Type the address yourself. Use etravel.gov.ph, not a link from an ad or a search result.
Be skeptical of any site that charges for the government form itself. If a company charges, it should say plainly that it's a private service and show its fee separately.
Check the details. A legitimate service lists a company name, contact information, and a refund policy.
Never share passport photos or card details on a page you don't trust.
After You Register
Once you have the QR code, keep it handy. Take a screenshot, save it to your phone's photos, and consider printing a copy in case your battery dies or you have no signal. You'll usually need it when you check in with the airline and again at arrival, so don't tuck it away in an email you'll have to hunt for with an impatient kid on your hip.
You'll typically get a green or red QR code. A green one means your information was submitted properly and completely, and you can go straight to immigration. A red one can be issued when information is incomplete or when certain health answers need review, which means additional screening before you continue. Answer the health questions honestly and check each traveler's details carefully.
The Rest of the Paperwork
eTravel is only one piece. Before you go, also confirm:
Passport validity. Passports generally need to be valid for at least six months beyond your stay, and that applies to every family member.
Onward or return ticket. Airlines and immigration may ask for proof you plan to leave.
Accommodation details. You'll need the name and address of your first stay for the form.
Travel insurance. For a family trip with long flights and island travel, medical and cancellation cover is worth the cost.
Kids' documents. If you're traveling with a child without the other parent, check the entry and exit rules for minors, which can require extra documentation.
Preparing Your Body and Mind for a Long Haul
You'll arrive in better shape if you plan for the trip as a physical event, not just a logistics problem.
Talk to a doctor early. A travel clinic or your family physician can advise on vaccinations and health precautions for the regions you'll visit. Do this several weeks ahead, not the week before.
Protect against mosquitoes. Dengue occurs in the Philippines, so insect repellent, light long-sleeved clothing in the evening, and accommodation with screens or air conditioning make sense, especially with young children.
Handle jet lag deliberately. Shift bedtimes a little in the days before you leave if you can, get daylight soon after you land, and resist the urge to nap for hours on arrival. Kids often adjust faster than adults, which is not always a relief.
Pack for flights. Keep medication, a change of clothes for each person, and snacks in the carry-on. Download shows and games before you leave, and bring headphones.
Stay hydrated and move. Walk the aisle when you can, drink water, and go easy on caffeine and alcohol on the plane.
Take care of your own head. Family travel is wonderful and exhausting. Build slack into the schedule, accept that something will go sideways, and keep your sense of humor handy. The calmer you are, the calmer the kids tend to be.
When to Go and Where
The drier months, roughly December through May, are generally the most comfortable for beaches and island hopping, while the rainy season and typhoon risk run from around June to November, so check forecasts and keep your plans flexible. Palawan, Cebu, Boracay, and Siargao are popular, each with a different feel. For families, pick a base for several days instead of changing hotels every night, since it keeps the logistics manageable.
The Bottom Line
Most of what makes a trip to the Philippines stressful happens before you leave. Know that eTravel is required for every traveler, free on the official site, and only available within 72 hours of your flight. Decide whether you'll handle it yourself or pay for help, beware of look-alike sites, and save your QR codes before you head to the airport. Then spend your energy where it counts, on the long flight, the first swim, and the moment your kids see the water for the first time.