
How to Build a Potting Shed That Lasts Season After Season
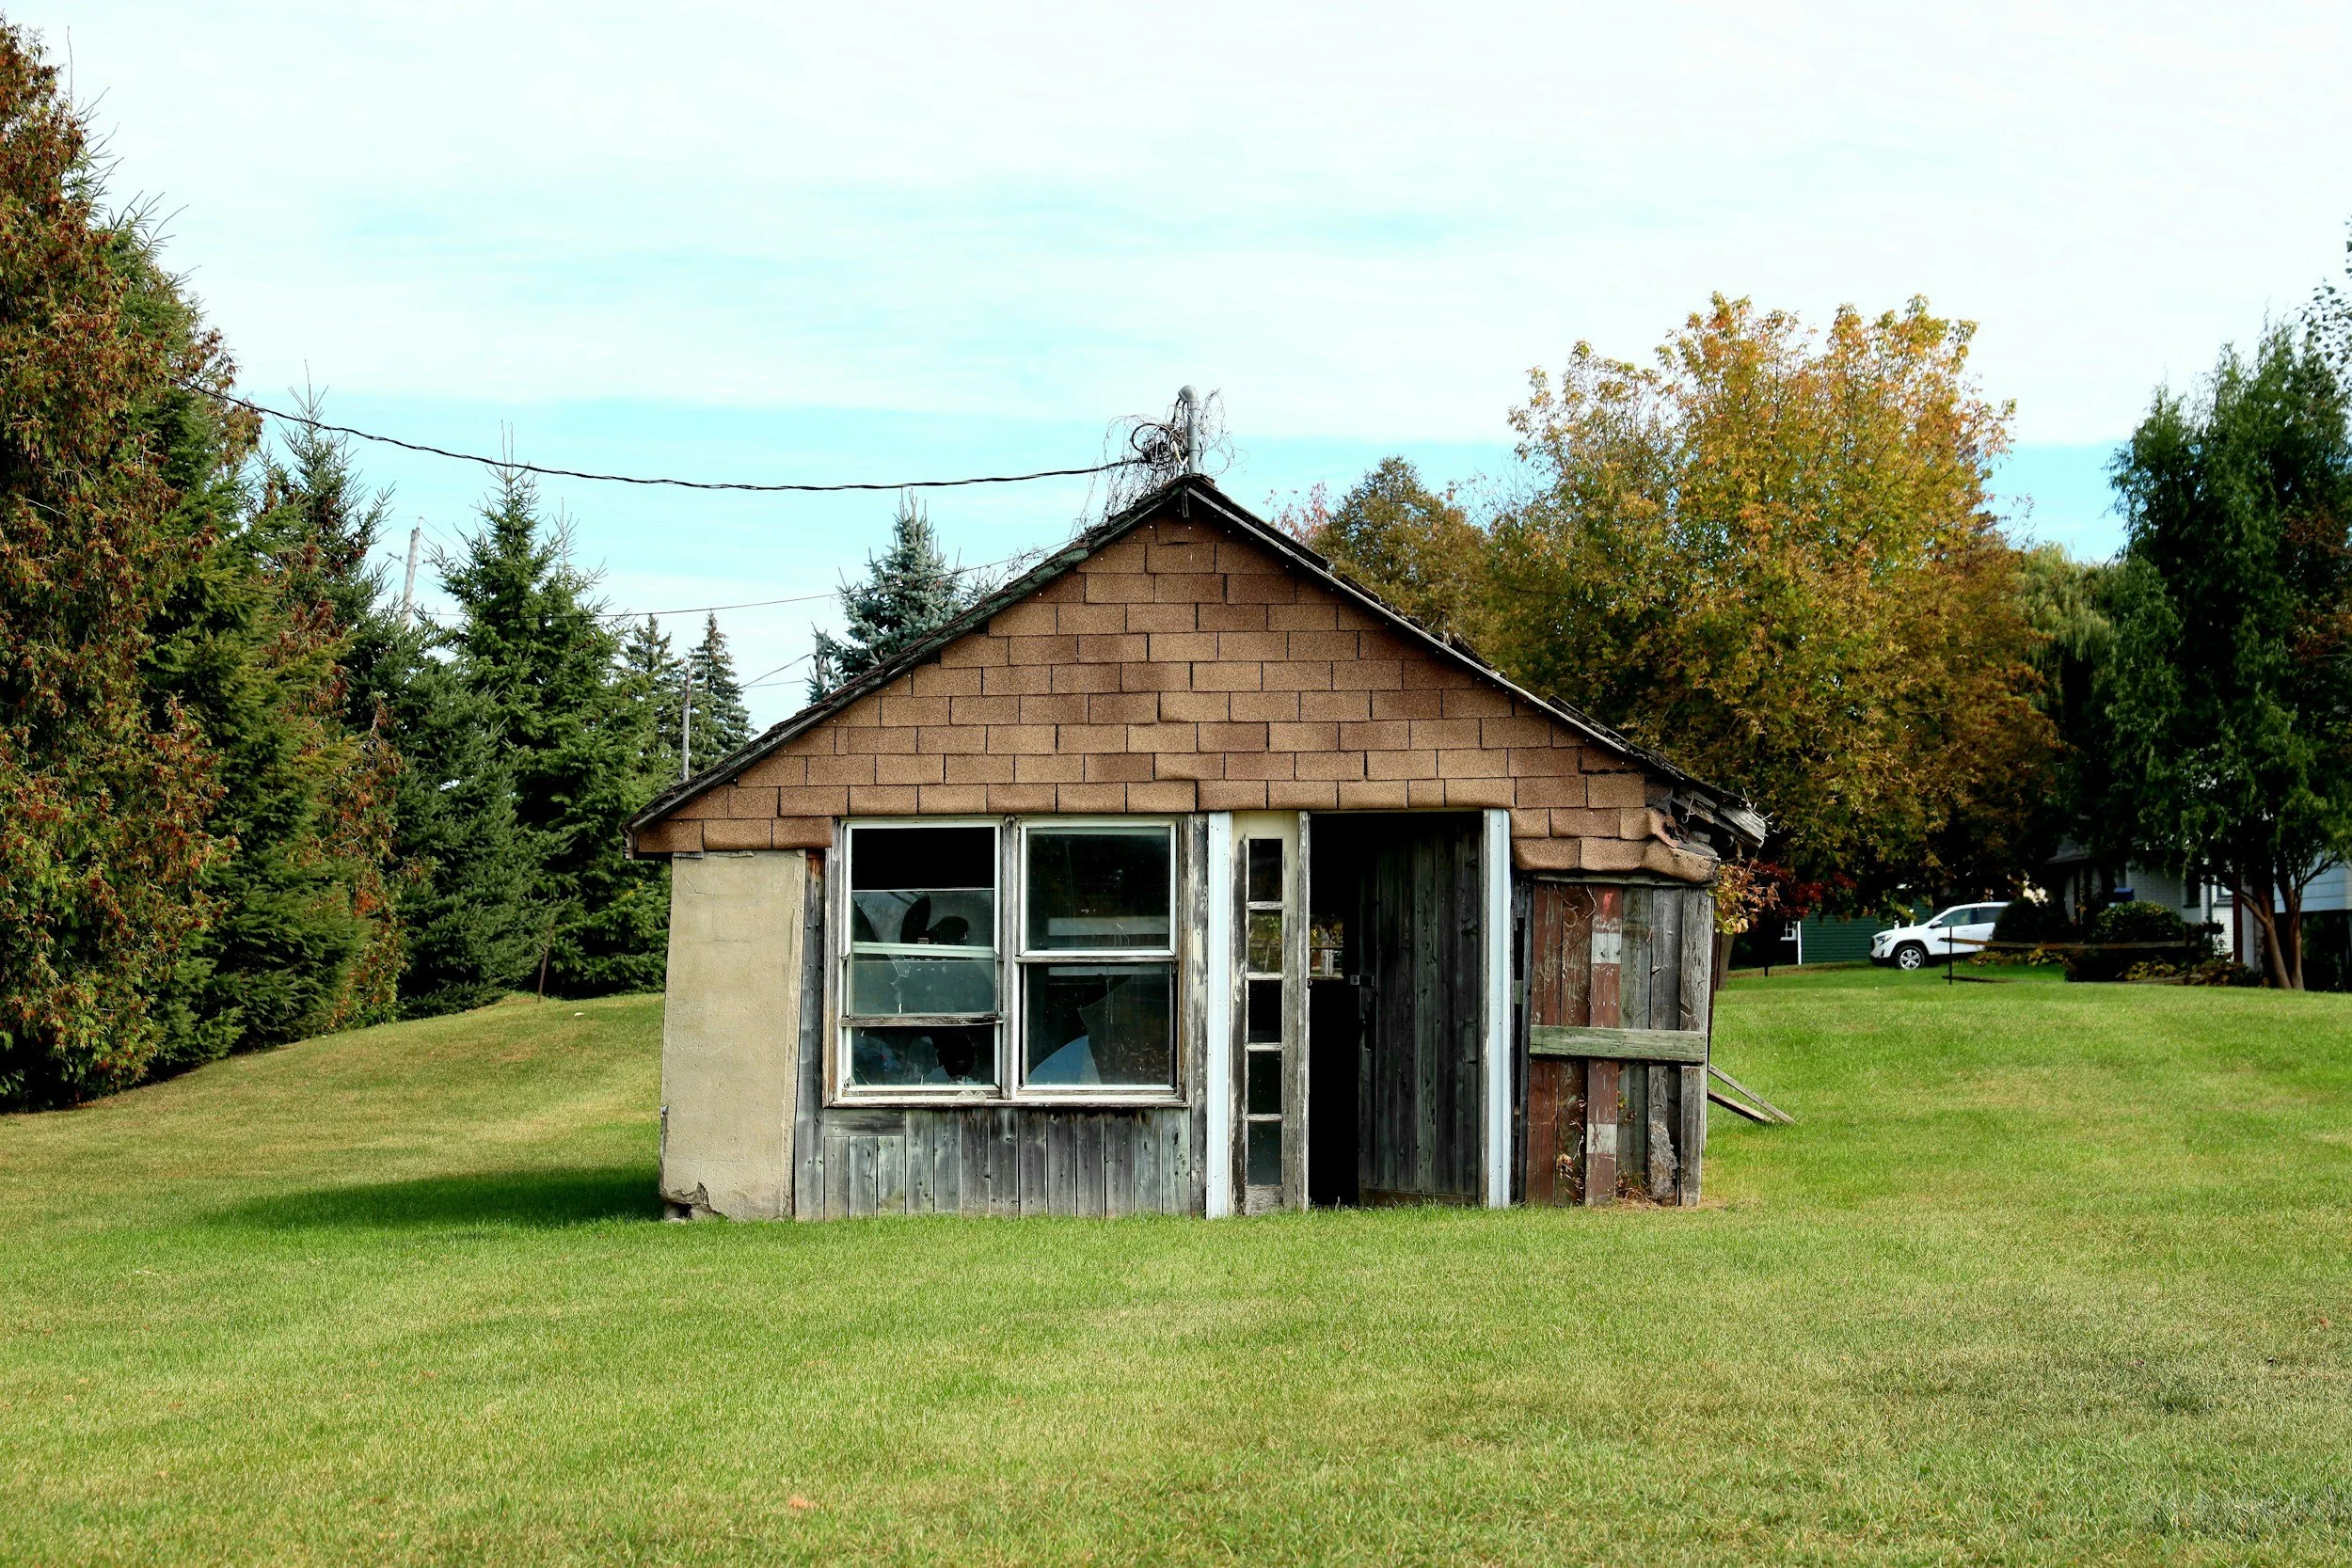
Anyone who's gardened through a Scottish winter knows how fast a cheap shed falls to bits. Driving rain, frost, gales off the coast. A potting shed that isn't built properly won't make it past its second year, and you'll be back to square one with a pile of rotten timber and a wasted weekend.
But here's the thing: you don't need a big budget or a joinery qualification to put one together that actually holds up. The right materials, a decent site and some common sense will get you most of the way there. Most people mess up before they've even picked up a hammer, though, so let's start with the bit that trips everyone up first.
Pick Your Site Before You Pick Your Timber
Whatever corner of the garden has space will be tempting. Resist that. Where you place the shed affects how much light your seedlings get, how fast the timber rots, how well the roof drains, and whether you'll spend every November scraping soggy leaf mulch out of your gutters.
Morning sun matters a lot. South or south-east facing is what you're after, because your seedlings will thank you for it once spring arrives and you're trying to harden them off early. Don't build directly under mature trees, either. Falling branches are the obvious danger, but constant dripping and leaf build-up will clog your gutters and speed up rot before autumn's even over.
Drainage is the other big one. If the ground stays boggy after a couple of days of rain, you'll want to raise the base on concrete blocks or lay a gravel pad underneath. Timber sitting directly on wet soil will rot from the bottom up, and you won't notice until it's too late.
Get the Frame and Cladding Right
Pressure-treated softwood is the standard for framing and it does the job well. Go with 75mm x 50mm timbers for the main structure, and coat every single cut end with wood preservative before you assemble anything. Skip that step and you'll regret it in about eighteen months.
For cladding, tongue-and-groove beats overlap boards every time in a potting shed. You get a much tighter seal against draughts and rain, and it holds up better across multiple seasons of Scottish weather. Aim for at least 16mm thickness where you can, especially on whichever side catches the prevailing wind, because that's the wall that'll take the worst of it.
Don't Forget the Roof and Glazing
Water gets in through the roof first on most DIY sheds. A simple pent roof with a slight pitch will shed rain fast and is far easier to build than an apex design. Start with roofing felt as your base layer, then add something tougher on top for longevity.
When it comes to roof panels and windows, transparent polycarbonate sheets are hard to beat. They're roughly 200 times more impact-resistant than glass, weigh about half as much, and won't shatter when a stray branch comes down during a storm. They also cope well with temperature swings, staying stable from -50°C right up to +100°C, which covers anything Scotland can throw at them and then some.
Cut them to size with a fine-toothed saw. Pre-drill your screw holes so you don't crack the sheets, and leave a small expansion gap around each panel.
Build It Once, Use It for a Decade
You don't need to overthink it. Solid ground, treated timber, tight cladding and glazing that can take a battering. Get those fundamentals right and the shed will outlast most things in your garden.
The biggest mistake people make with potting sheds is treating them as disposable. They buy the cheapest kit, throw it up in a hurry, and end up rebuilding every few years. A couple of extra hours spent on site prep, end-grain treatment, and decent glazing will pay for itself many times over. Build it properly this autumn, and ten years from now you'll still be pricking out seedlings in it while your neighbour's flat-pack effort has long since ended up in a skip.